

Flexible, Durable, and Eco-Friendly: The 132 Gal Rainwater Tank
Flexible, Durable, and Eco-Friendly: The 132 Gal Rainwater Tank
I have this friend who's way more organized than me. She's got a garden that could be on magazine covers, compost bins that actually work, and she's been talking about rainwater harvesting for years. But every time she looked into it, she'd hit the same wall.
I don't have room for one of those giant plastic tanks, she'd say. And I'm not about to dig up my yard for some permanent system I can't move.
I got it. Those rigid tanks are huge. They're ugly. They sit in one spot forever, and if you ever change your mind, good luck. So she kept paying for tap water, and I kept watching rain run off her roof into the street.
Then she found out about collapsible tanks. And suddenly everything changed.

The Problem With Traditional Rainwater Storage
Let's be real about why most people don't harvest rainwater, even when they want to.
The standard options are all variations of permanent. Big plastic barrels that take up space forever. Concrete cisterns that require construction. Heavy tanks that need foundations and permits and professional installation.
If you're renting, that's a non-starter. If you might move someday, it's a bad investment. Even if you own your place, maybe you don't want a giant eyesore dominating your yard twelve months a year.
So most of us just accept that rainwater harvesting isn't for people like us. It's for homesteaders with acreage, not regular folks with regular yards.
Why 132 Gallons Is the Sweet Spot
Before we get to the flexible part, let's talk about capacity.
132 gallons is a serious amount of water. This isn't a little rain barrel you'll empty in one afternoon of gardening. This is real storage that actually makes a difference.
What can you do with 132 gallons?
-
Keep a medium-sized garden watered through dry spells
-
Wash your car multiple times with soft, spot-free water
-
Have months of emergency supply for a household
-
Fill a small pond or water feature
-
Support livestock or pets when it's dry
It's big enough to matter, but not so massive that you need heavy equipment to handle it. That balance matters.
What "Flexible" Actually Means in Real Life
Here's where my friend's eyes lit up.
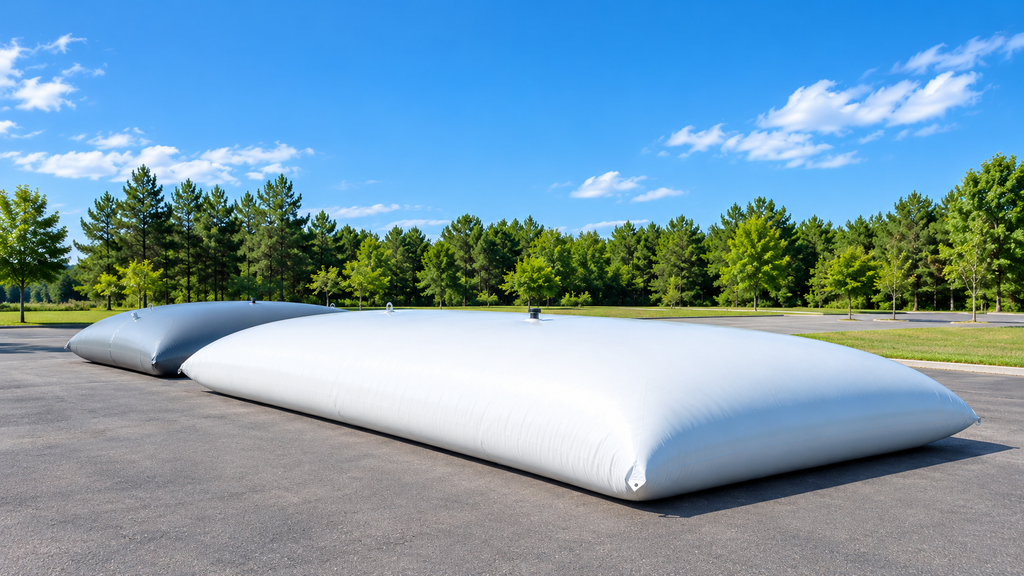
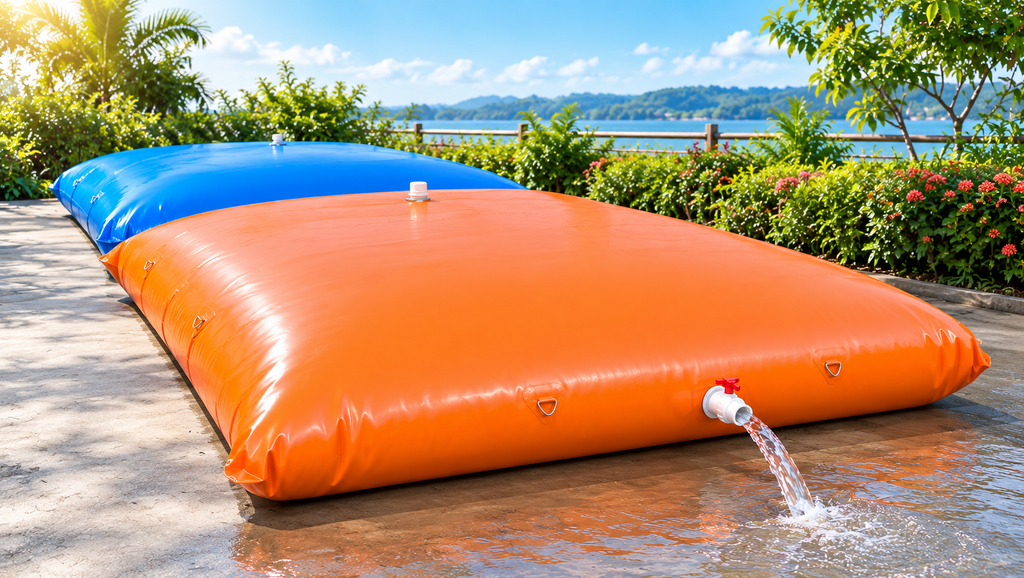
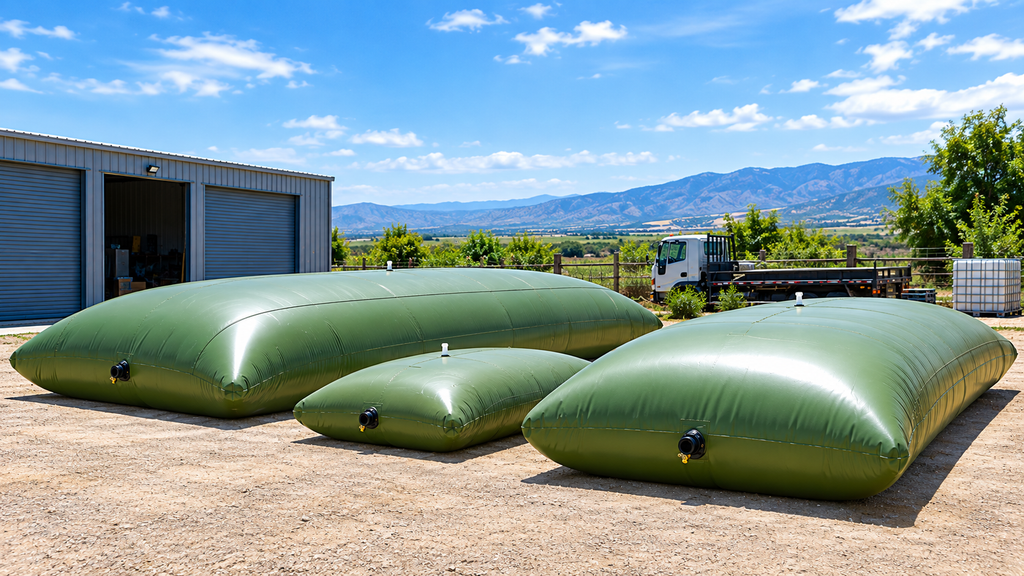
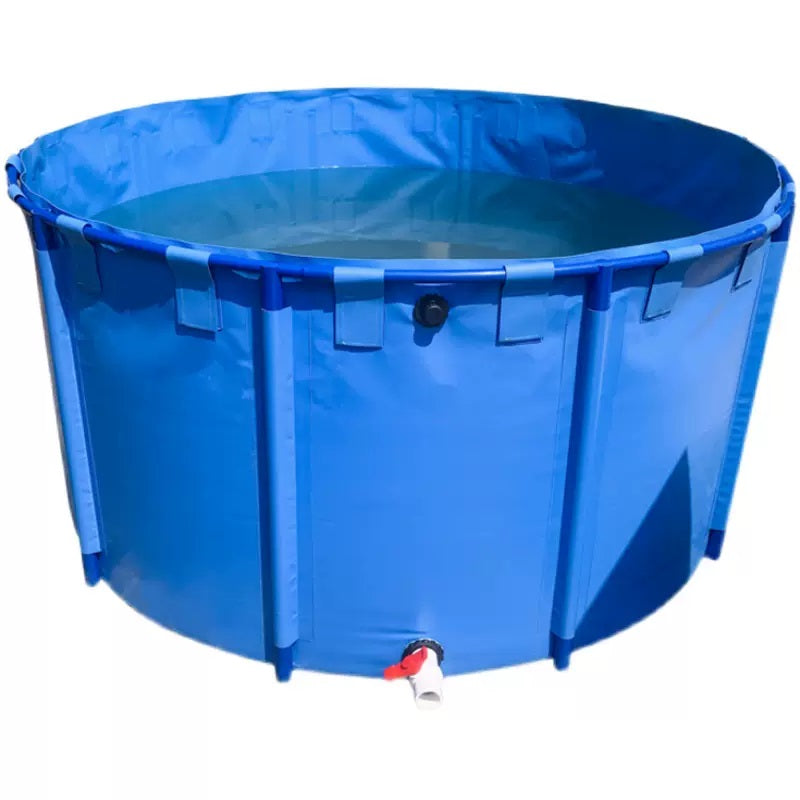
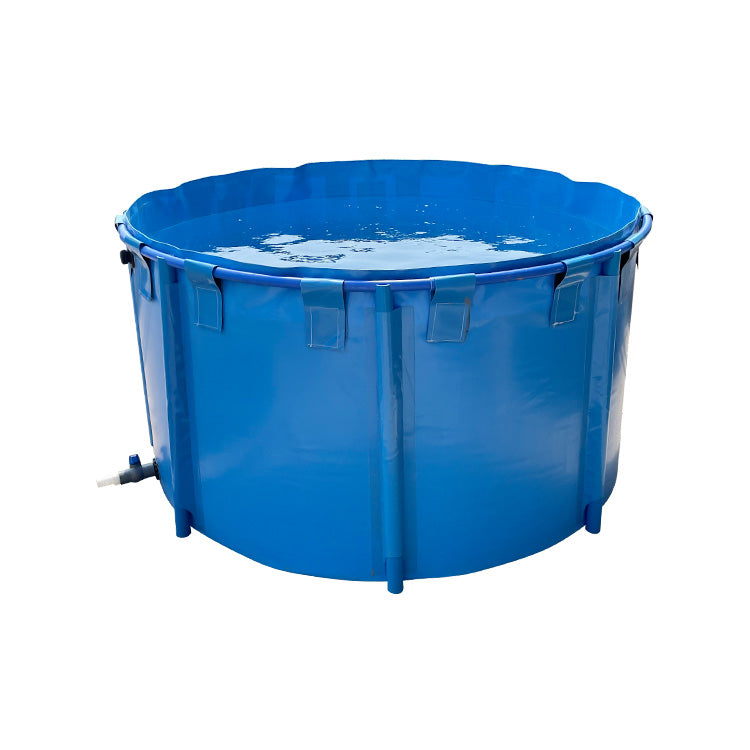
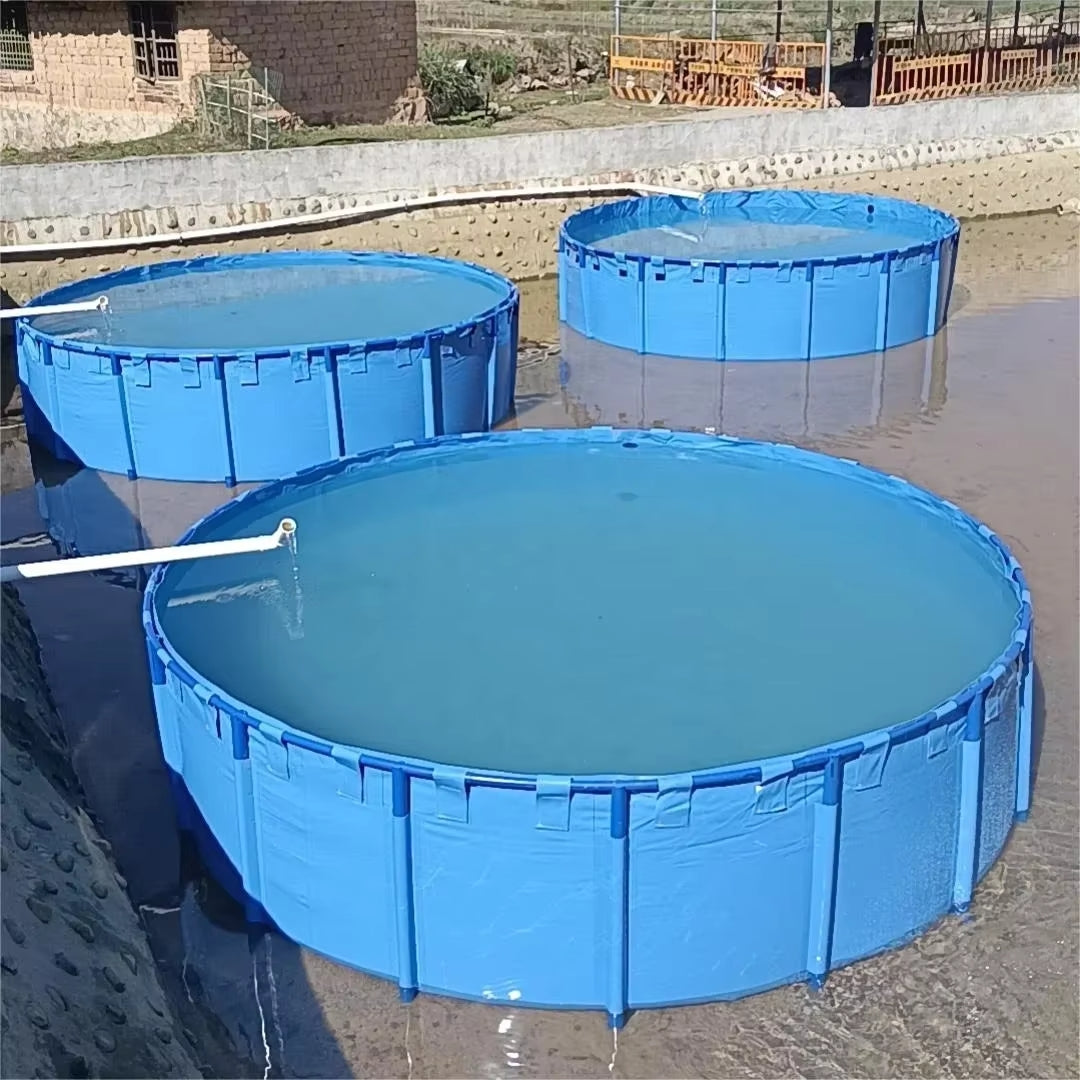
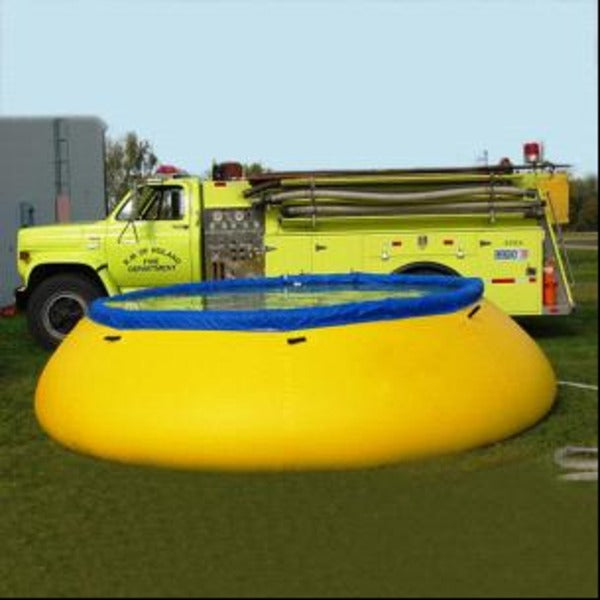
A collapsible rainwater tank sets up when you need it, holds water securely, and when it's empty? It folds flat. Like, totally flat. Sticks in a closet. Slides under the deck. Disappears until next season.
Think about what that means:
-
You can put it away during winter when you don't need it
-
You can move it to different parts of your property as needed
-
You're not stuck with a permanent eyesore
-
Renters can take it with them when they move
-
It fits in spaces rigid tanks never could under decks, along narrow side passages, behind garages
My friend lives in a normal suburban house with a normal sized yard. She tucked hers behind some shrubs next to the garage. You'd never know it was there unless you were looking for it.
Built Tough Enough to Trust
When I first heard about flexible tanks, I pictured something flimsy. Like a pool toy that would spring a leak at the worst moment.
Turns out, quality collapsible tanks are anything but flimsy. The good ones are made from heavy duty materials with multiple layers of reinforced PVC or polyethylene, with welded seams that actually hold up under pressure.
Think about this: a full 132-gallon tank weighs over a thousand pounds. The material has to handle that pressure day after day, season after season, without failing. That's not pool toy territory. That's serious engineering.
Look for:
-
UV-resistant coatings so sun doesn't degrade the material
-
Reinforced seams (welded, not just stitched)
-
Tear-resistant fabrics that won't puncture easily
-
Food-grade options if you're storing drinking water
The good ones last for years. I've had mine for three seasons now, and it still looks and performs like new.
The Eco-Friendly Part That Actually Matters
Here's something that doesn't get talked about enough.
Every gallon of tap water you use was treated at a plant, pumped through pipes, and delivered using energy and infrastructure. It's not free, even if it feels that way when you turn the faucet.
Rainwater is:
-
Naturally soft (no chlorine, no minerals that spot your car)
-
Better for plants than treated water (they evolved for rain, not tap)
-
Free, once you've captured it
-
A way to reduce stormwater runoff that causes erosion and pollution
And because the tank itself is reusable for years, you're not creating the plastic waste that disposable systems do. One tank, many seasons, zero waste.
Where You Can Actually Put One
This is where collapsible tanks win by a mile.
Rigid tanks need dedicated space, permanently. Flexible tanks fit where they fit, and when they're empty, they're not taking up anything.
Some spots to consider:
-
Under a deck or patio. That dead space becomes useful.
-
Along a narrow side passage. Most yards have some unused strip.
-
Behind a garage or shed. Out of sight, out of mind.
-
Under an elevated house. Crawl space becomes water storage.
-
Temporarily in the yard during rainy season. Then store it away when dry.
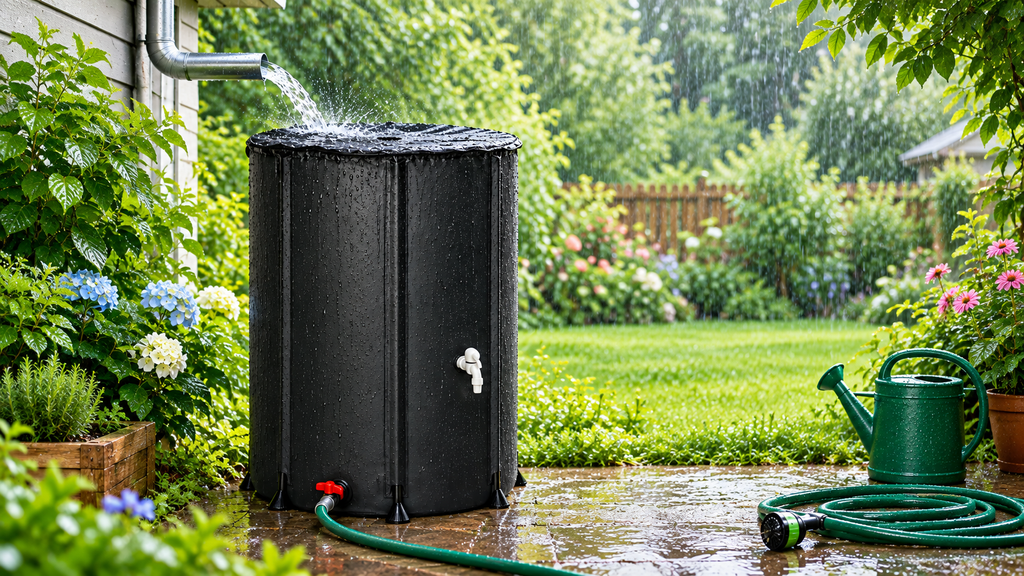
My friend put hers behind some laurel bushes. Can't see it from the house, can't see it from the street, but it's right there catching water off her garage roof.
Step-by-Step: How to Set One Up
It's genuinely simpler than dealing with rigid tanks. Here's how it goes.
Step 1: Pick your spot. Flat ground, close to a downspout, clear of sharp objects. Level matters: an uneven base stresses the seams.
Step 2: Prep the base. A full tank is heavy. Compacted gravel works well. Concrete pad if you want permanent. Even just level ground with a ground cloth can work if the soil is stable.
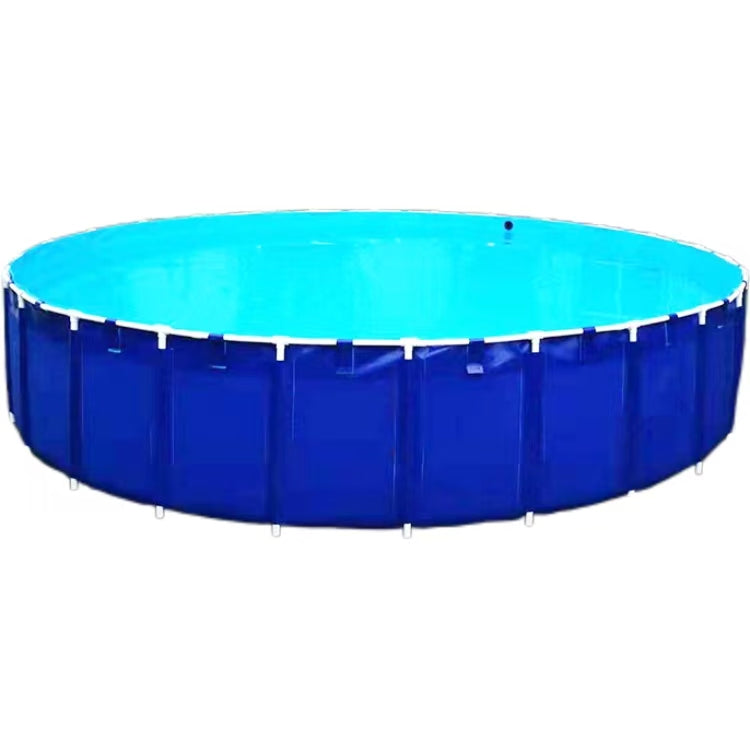
Step 3: Assemble the tank. Most come with a frame or support rods. Pop them in, let the tank take shape. No tools, no heavy lifting.
Step 4: Connect to the downspout. You'll need a diverter; they're cheap and easy to install. Cut your downspout, pop it in, run a pipe to the tank.
Step 5: Add an overflow. When the tank fills, excess needs somewhere to go away from your foundation. Most tanks have an overflow outlet. Pipe it to a drainage area.
Step 6: Install a spigot or pump. Gravity flow works fine for watering cans. If you want hose pressure, add a small pump.
Step 7: Test it. Run water through, check for leaks, make sure the diverter works.
That's it. A few hours, maybe less, and you've got 132 gallons of storage.

What You'll Notice First
The first time you use rainwater in your garden, two things will happen.
First, you'll notice how much your plants seem to like it. I don't know if it's the lack of chlorine or just my imagination, but everything looks happier.
Second, you'll feel slightly smug every time it rains. While everyone else is watching water run down the street, you're filling your tank for free.
The Bottom Line From Someone Who Waited Too Long
I spent years thinking rainwater harvesting wasn't for me. Too complicated, too permanent, too much space. My friend spent even longer.
Then we both discovered that 132 gallons of storage doesn't have to mean permanent infrastructure. It can also mean flexible, durable, and actually eco-friendly.
If you've been putting this off because rigid tanks felt like too much commitment, this is worth a look. One tank, serious capacity, sets up in hours, stores flat when empty.
Your garden will thank you. Your water bill will thank you. And you'll wonder why you waited so long.